Cinnamon Dessert for Fall

WARNING: This cake has never survived overnight in my house.

If you’re looking for an easy fall baking recipe that makes your kitchen smell incredible, this Honey Bun Coffee Cake is it.

Honey. Cinnamon. Brown sugar. A soft, tender cake with a sweet glaze poured over the top while it’s still warm.

Basically? Fall in a 9×13 pan.

And yes, this is the kind of cake that causes arguments over who gets the last piece. 😅

The best part? No complicated baking techniques required.

Tips for the perfect honey bun cake:

  • Use full-fat sour cream for the moistest texture.
  • Don’t skip pressing the honey-cinnamon topping into the batter. It creates those delicious swirls throughout the cake.
  • Pour the glaze over the cake while it’s warm so it melts into every corner.
  • Let it cool just enough to slice… if your family will wait that long.
    This cake is also perfect for Jewish holidays, brunch, Rosh Hashanah, or any fall gathering where you want something homemade without spending all day in the kitchen.

The Recipe

Cake:

  • 1 plain yellow cake mix
  • 1 cup sour cream
  • ¾ cup vegetable oil
  • 4 large eggs
    Mix together and pour into a sprayed 9×13-inch baking pan.

Topping:

  • Drizzle ⅓ cup honey over the batter.
  • Mix ⅓ cup brown sugar with 1 tablespoon cinnamon and sprinkle over the honey.
  • Use a knife to gently press the topping into the batter.
    Bake at 350°F for 38–40 minutes, until the cake springs back when pressed.

Glaze:
Mix together:

  • 2 cups powdered sugar
  • ⅓ cup milk
  • 1 teaspoon vanilla
    Pour over the warm cake.
    And about long-term storage?
    I have no idea.

This cake has never lasted more than one day in my house. 😂

Would this Honey Bun Coffee Cake survive overnight at your house, or would it disappear before breakfast?

#EasyBakingRecipes #JewishHolidayRecipe #FallBaking

Spooky Ube Pancakes for Halloween

Ingredients

  • 1 cup all-purpose flour (or substitute with oat flour or cake flour)
  • 2 tablespoons ube powder
  • 2 teaspoons baking powder
  • 2 tablespoons sugar (adjust to taste)
  • ¼ teaspoon salt
  • ¾ cup milk or coconut milk (warm, to help dissolve ube powder)
  • 1 tablespoon melted butter or neutral oil
  • 1 large egg
  • ½ teaspoon vanilla extract
  • ½ to 1 teaspoon ube extract (for strong ube flavor and deep purple hue)

Instructions

  1. Bloom the ube powder:
    In a small bowl, whisk ube powder with 2-3 tablespoons of warm milk until it forms a smooth, deep-purple paste. This step intensifies flavor and color.
  2. Mix dry ingredients:
    In a large bowl, combine flour, baking powder, sugar, and salt.
  3. Combine wet ingredients:
    In another bowl, whisk egg, remaining milk, melted butter, vanilla extract, and the ube paste.
    Add ube extract here as well.
  4. Combine and rest:
    Slowly add the wet mixture to the dry ingredients, stirring just until no dry flour remains. The batter should be slightly thick. Let it rest for 10-15 minutes for fluffier pancakes.
  5. Cook:
    Heat a nonstick pan over medium-low heat and lightly grease it. Pour about 1 cup batter per pancake. Cook 2-3 minutes per side until bubbles form and edges set before flipping.

ingredients

  • 8 oz (about 230 g) white chocolate bars, not baking chips
  • 1½ cups (360 ml) heavy whipping cream, divided

Instructions

  1. Melt the chocolate:
    Chop white chocolate into small pieces and place it in a heatproof bowl.
  2. Heat the cream:
    In a small saucepan or microwave, heat ½ cup of the cream until just below boiling (tiny bubbles forming at the edges).
  3. Make a ganache:
    Pour the hot cream over the chocolate. Let it sit for 2 minutes, then stir slowly from the center outward until smooth and glossy. If any clumps remain, pour through a strainer to remove.
  4. Cool completely:
    Cover the bowl with plastic wrap (touching the surface) and refrigerate for at least 4 hours, or preferably overnight, until well chilled.
  5. Whip the remaining cream:
    Once the ganache is cold, place it in a mixing bowl. Add the remaining 1 cup of chilled heavy cream.
  6. Whip to soft peaks:
    Using a whisk or electric mixer, whip on low speed and gradually increase to medium-high until soft-stiff peaks form. The mixture will lighten to a creamy ivory shade.
  7. Use or chill:
    Use immediately for frosting or piping. For best stability, chill the finished cream 15-30
    minutes before using. It stays stable up to 5 days in the fridge. foodmeanderings +1

6rab a super-sized chocolate chip cookie and a sinfully-spicy book.

Both are shamelessly delicious. Indulge in life’s guilty pleasures.

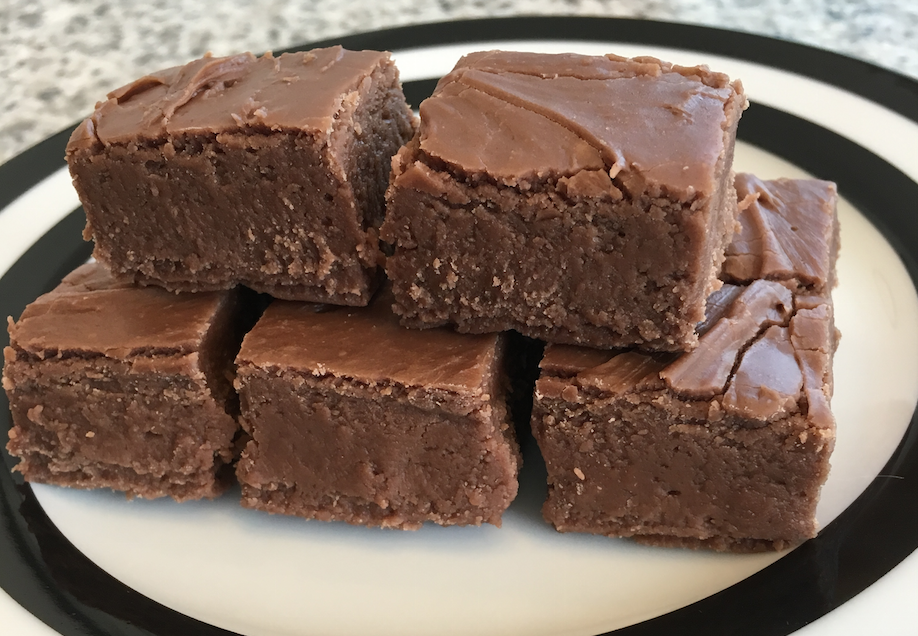
Milk Chocolate Fudge – SO MUCH BETTER than semi-sweet

Screen Shot 2016-08-08 at 11.31.00 AM

Why did it take me so many years to realize that MILK CHOCOLATE is a MUCH BETTER choice for fudge than SEMI-SWEET CHOCOLATE?  The texture is smoother.  The taste is richer.  There’s a time and place for all types of chocolate.  This doesn’t affect my opinion on other uses of semi-sweet chocolate.  For example, who doesn’t like your basic chocolate chip cookie with semi-sweet chips? I guess I’ll have to make up for past indiscretions by making more of this fudge.

I used the standard Nestle recipe and simply substituted milk chocolate chips for semi-sweet.

Ingredients:

1 1/2 c sugar

2/3 c evaporated milk

2 Tbls butter

1/4 tsp salt

2 c mini marshmallows

1 1/2 c MILK CHOCOLATE CHIPS

1 tsp vanilla

Directions

Line an 8-inch square baking pan with foil

Combine sugar, evaporated milk, butter and salt in medium, heavy duty saucepan.  Bring to a full boil over medium heat, stirring constantly.  Boil, stirring constantly, for 4 to 5 minutes.  Remove from heat.

Stir in marshmallows, chips, and vanilla.  Stir vigorously for 1 minute or until fully combined.  Pour into prepared baking pan.  Refrigerate for 1 hour or until firm.

See Related Posts:

Nutella Fudge

Nutella Fudge

Peanut Butter Fudge

Screen Shot 2015-03-01 at 6.20.12 PM

HAPPY BAKING!

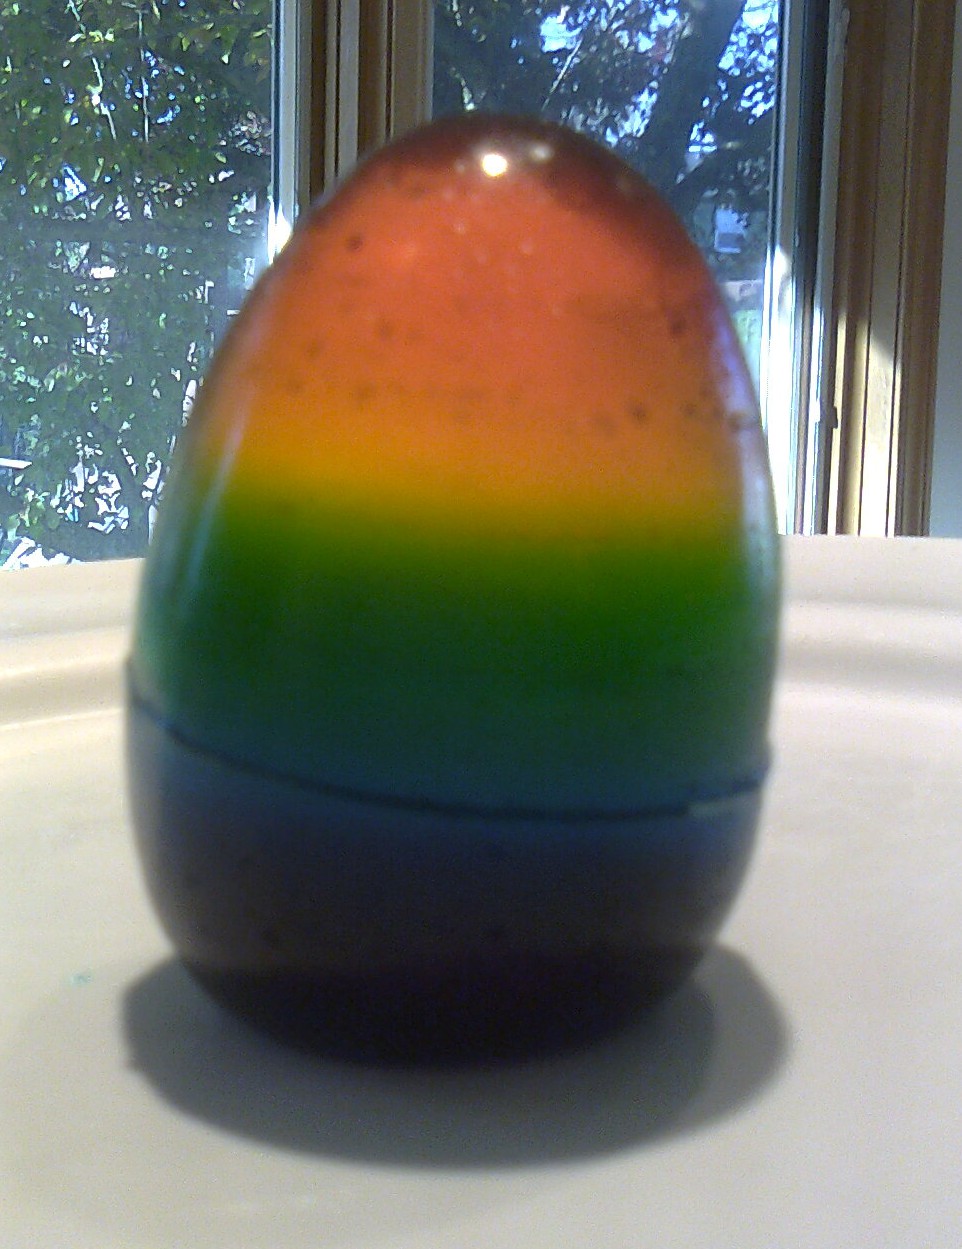
Jello Eggs for Easter

Photo0012

Happy Easter to all that celebrate.  And, to those that don’t but like jello, here’s a fun dessert idea.

This is my daughter’s absolute favorite dessert.  I only make it on Easter; not only because of the shape but because it takes 6 hours to make.  It’s easy, but timely.  Setting aside 6 consecutive hours at home isn’t easy.

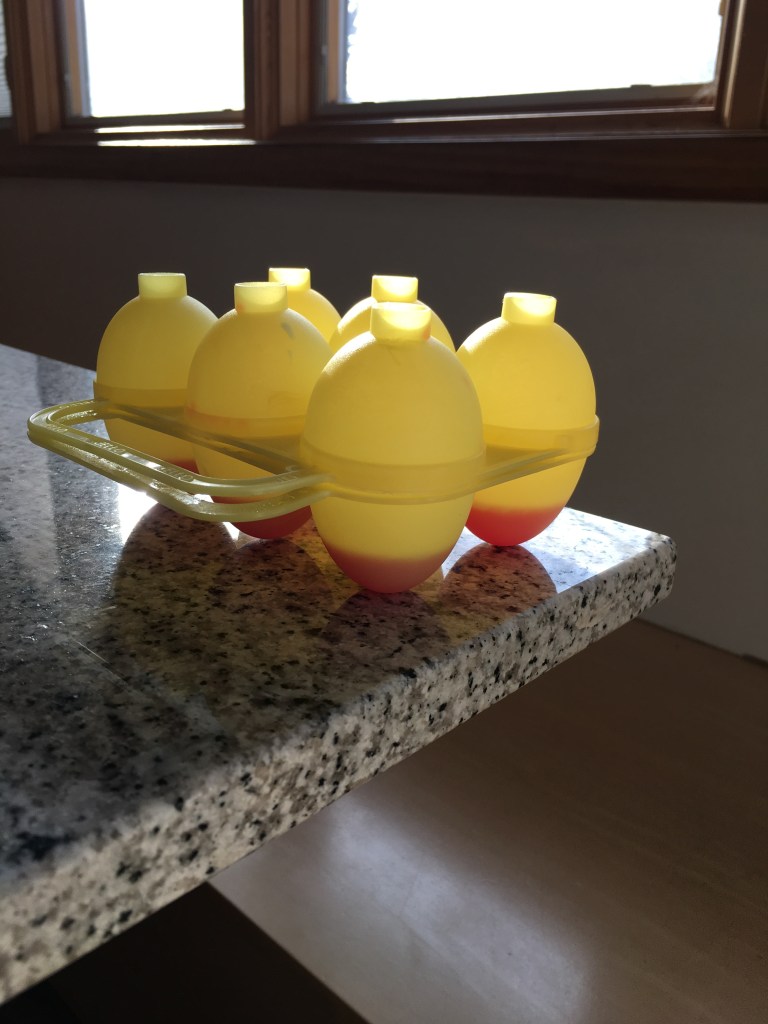
Besides finding the time, you need to have the appropriate molds.  I bought mine years ago.   Here’s what one looks like (I have 4):

IMG_0388

If you can’t find a place to purchase these molds, you can make your own.  All you need is an a left over egg carton and basic plastic egg containers.  The full directions for making the molds can be found at this website

http://robbygurlscreations.blogspot.com/2012/04/diy-easter-egg-jello-molds.html

When I make these I like to go for the full rainbow effect.  I start buy purchasing small boxes of instant jello: red, orange, yellow, green, blue, and purple.  Depending on store availability, I vary the actual flavors.

Step 1 – prepare molds by coating with cooking spray or vegetable oil

Step 2 – close molds completely

Step 3 – Prepare Jello Flavor: boil 2/3 cup of water and mix with one flavor of jello, whisk for 2 full minutes.  Carefully pour liquid jello into the molds.  One small box is sufficient for 24 egg molds.  (If doing the full rainbow)

Step 4 – Chill for exactly 1 hour

Step 5 – Remove molds from fridge and repeat Step 3 and Step 4 again for each flavor of jello

Step 6 – Chill the full molds for 3 hours.  Remove from refrigerator, and carefully separate the mold halves.  ENJOY

*Keep any leftovers in the refrigerator

It’s just about time to add my next layer of jello.  Gotta Run.

HAPPY BAKING!