Some desserts of the past have proved to pass the tests of time, like Oreos.
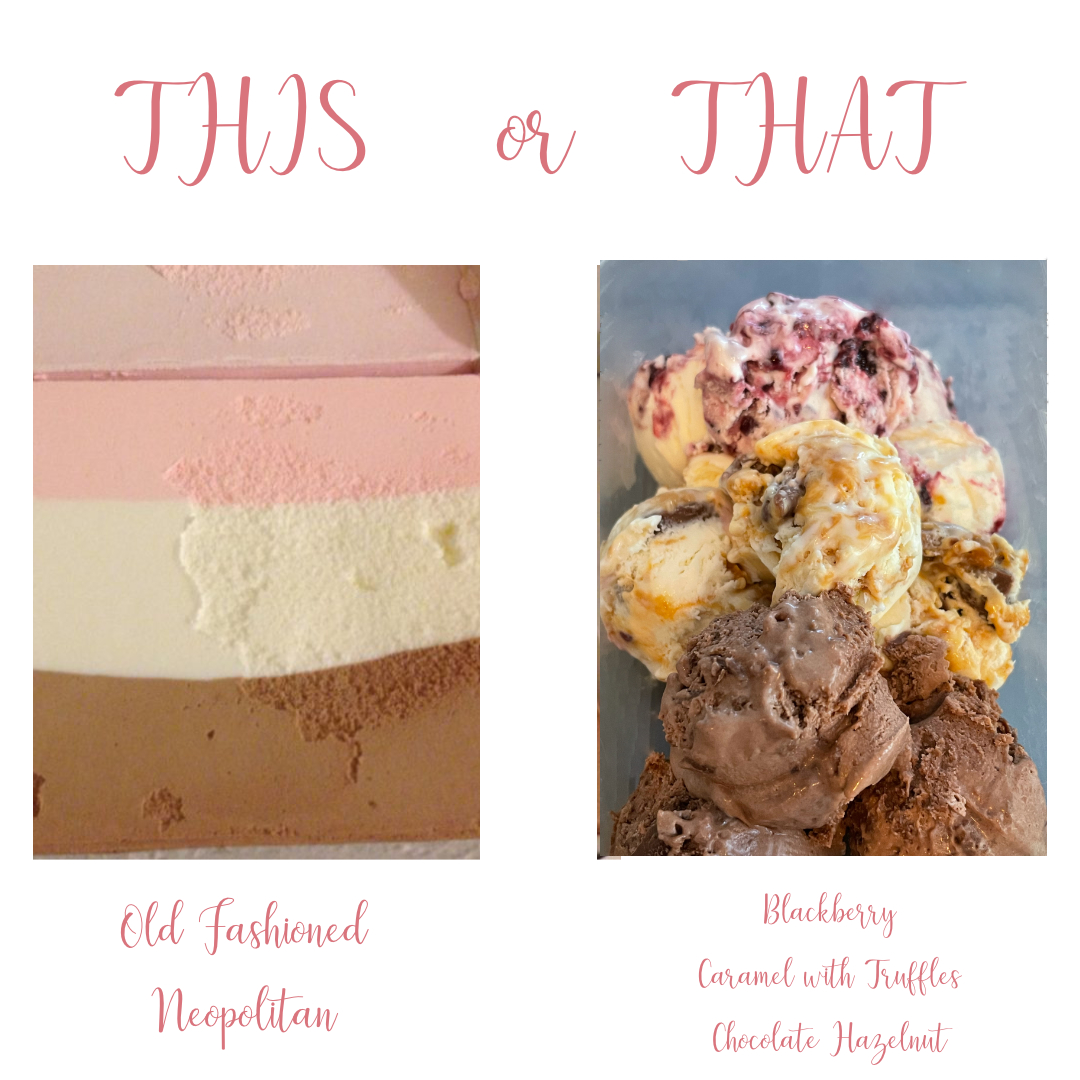
Others were terrible even way back when. While there were many desserts that I didn’t care for when I was a child, Neapolitan ice cream was one of the worst. The quality was mediocre at best. I know the pink color was supposed to be strawberry but did it ever contain actual fruit?
My greatest grievance was the idea of putting three flavors in one container. How was it possible to share this in a household? Was everyone supposed to scoop evenly through all of the flavors? I’m sure I wasn’t the only one living in a household where that practice was never done. And yes, I was guilty of scooping exclusively from the chocolate section. I was a kid, I didn’t consider the selfishness of my ice cream habit.
Anyways, during the July 2023 Ice Cream month, I believe I solved the Neapolitan drama. The answer: three flavors that are all delicious in their own right. Even if someone prefers one flavor to the rest, no one is left eating a substandard flavor in the end.
My homemade version of a trifecta of ice cream as shown in the image: Blackberry, Caramel with Lindt Truffles, and Chocolate hazelnut.