

What kind of cake does one make for a 16 year old tennis player? I’ve already made a cake in the shape of tennis ball.

When I asked him what he kind of cake he wanted, he joking said “my tennis racquet.”
I thought about his request for a few days. It sounded a bit nuts. Then, I thought I’m just that nuts to take on this challenge.
Here’s how the project went along.
First, I traced the actual racquet to make a template for cutting out the cake and planning how to plate and store the cake. Both were a challenge because of the size. A full size racquet is 27 inches long. I didn’t have a container large enough to store the entire cake. I needed to be able to split the cake in order to store in two different containers. You can see the split I made in the cake plate (pre-cut cake cardboard covered with green paper and wax paper).

I then had to choose an appropriate cake recipe. I needed one that was dense enough to be cut into sections. I’ve used a pound cake in the past to cut into shapes, but I wanted to find something different this time. I found a recipe online that suggested using a cake mix but only using 1/2 the oil and 2 Tbls less of water. I needed a lot of cake for this project (again a BIG cake). I used my 12 x 18 inch pan, which requires 2 cake mixes worth of batter.
The cake baked nicely and luckily popped out of the pan without any fuss or cracking. After the cake cooled, I leveled the cake. I cut my cake template into three pieces and placed them on the cake. I cut out each section carefully, making sure to keep my knife perpendicular to the table. I then assembled the pieces of cake on the cake plate.

Because the strings on a racquet are in the center of the frame, I needed a separate surface for the strings to appear. I used my cake level to cut the cake in half horizontally. I cut out the center, leaving just enough cake for the racquet frame. I then removed the cake.

I also had to cut out the throat of the racquet. The entire cake then needed to be skim-coated with a thin layer of frosting. This step seals in the cake for freshness and allows the top frosting to go on smoothly.

I allowed the frosting to dry before placing the two sections in containers for the night.
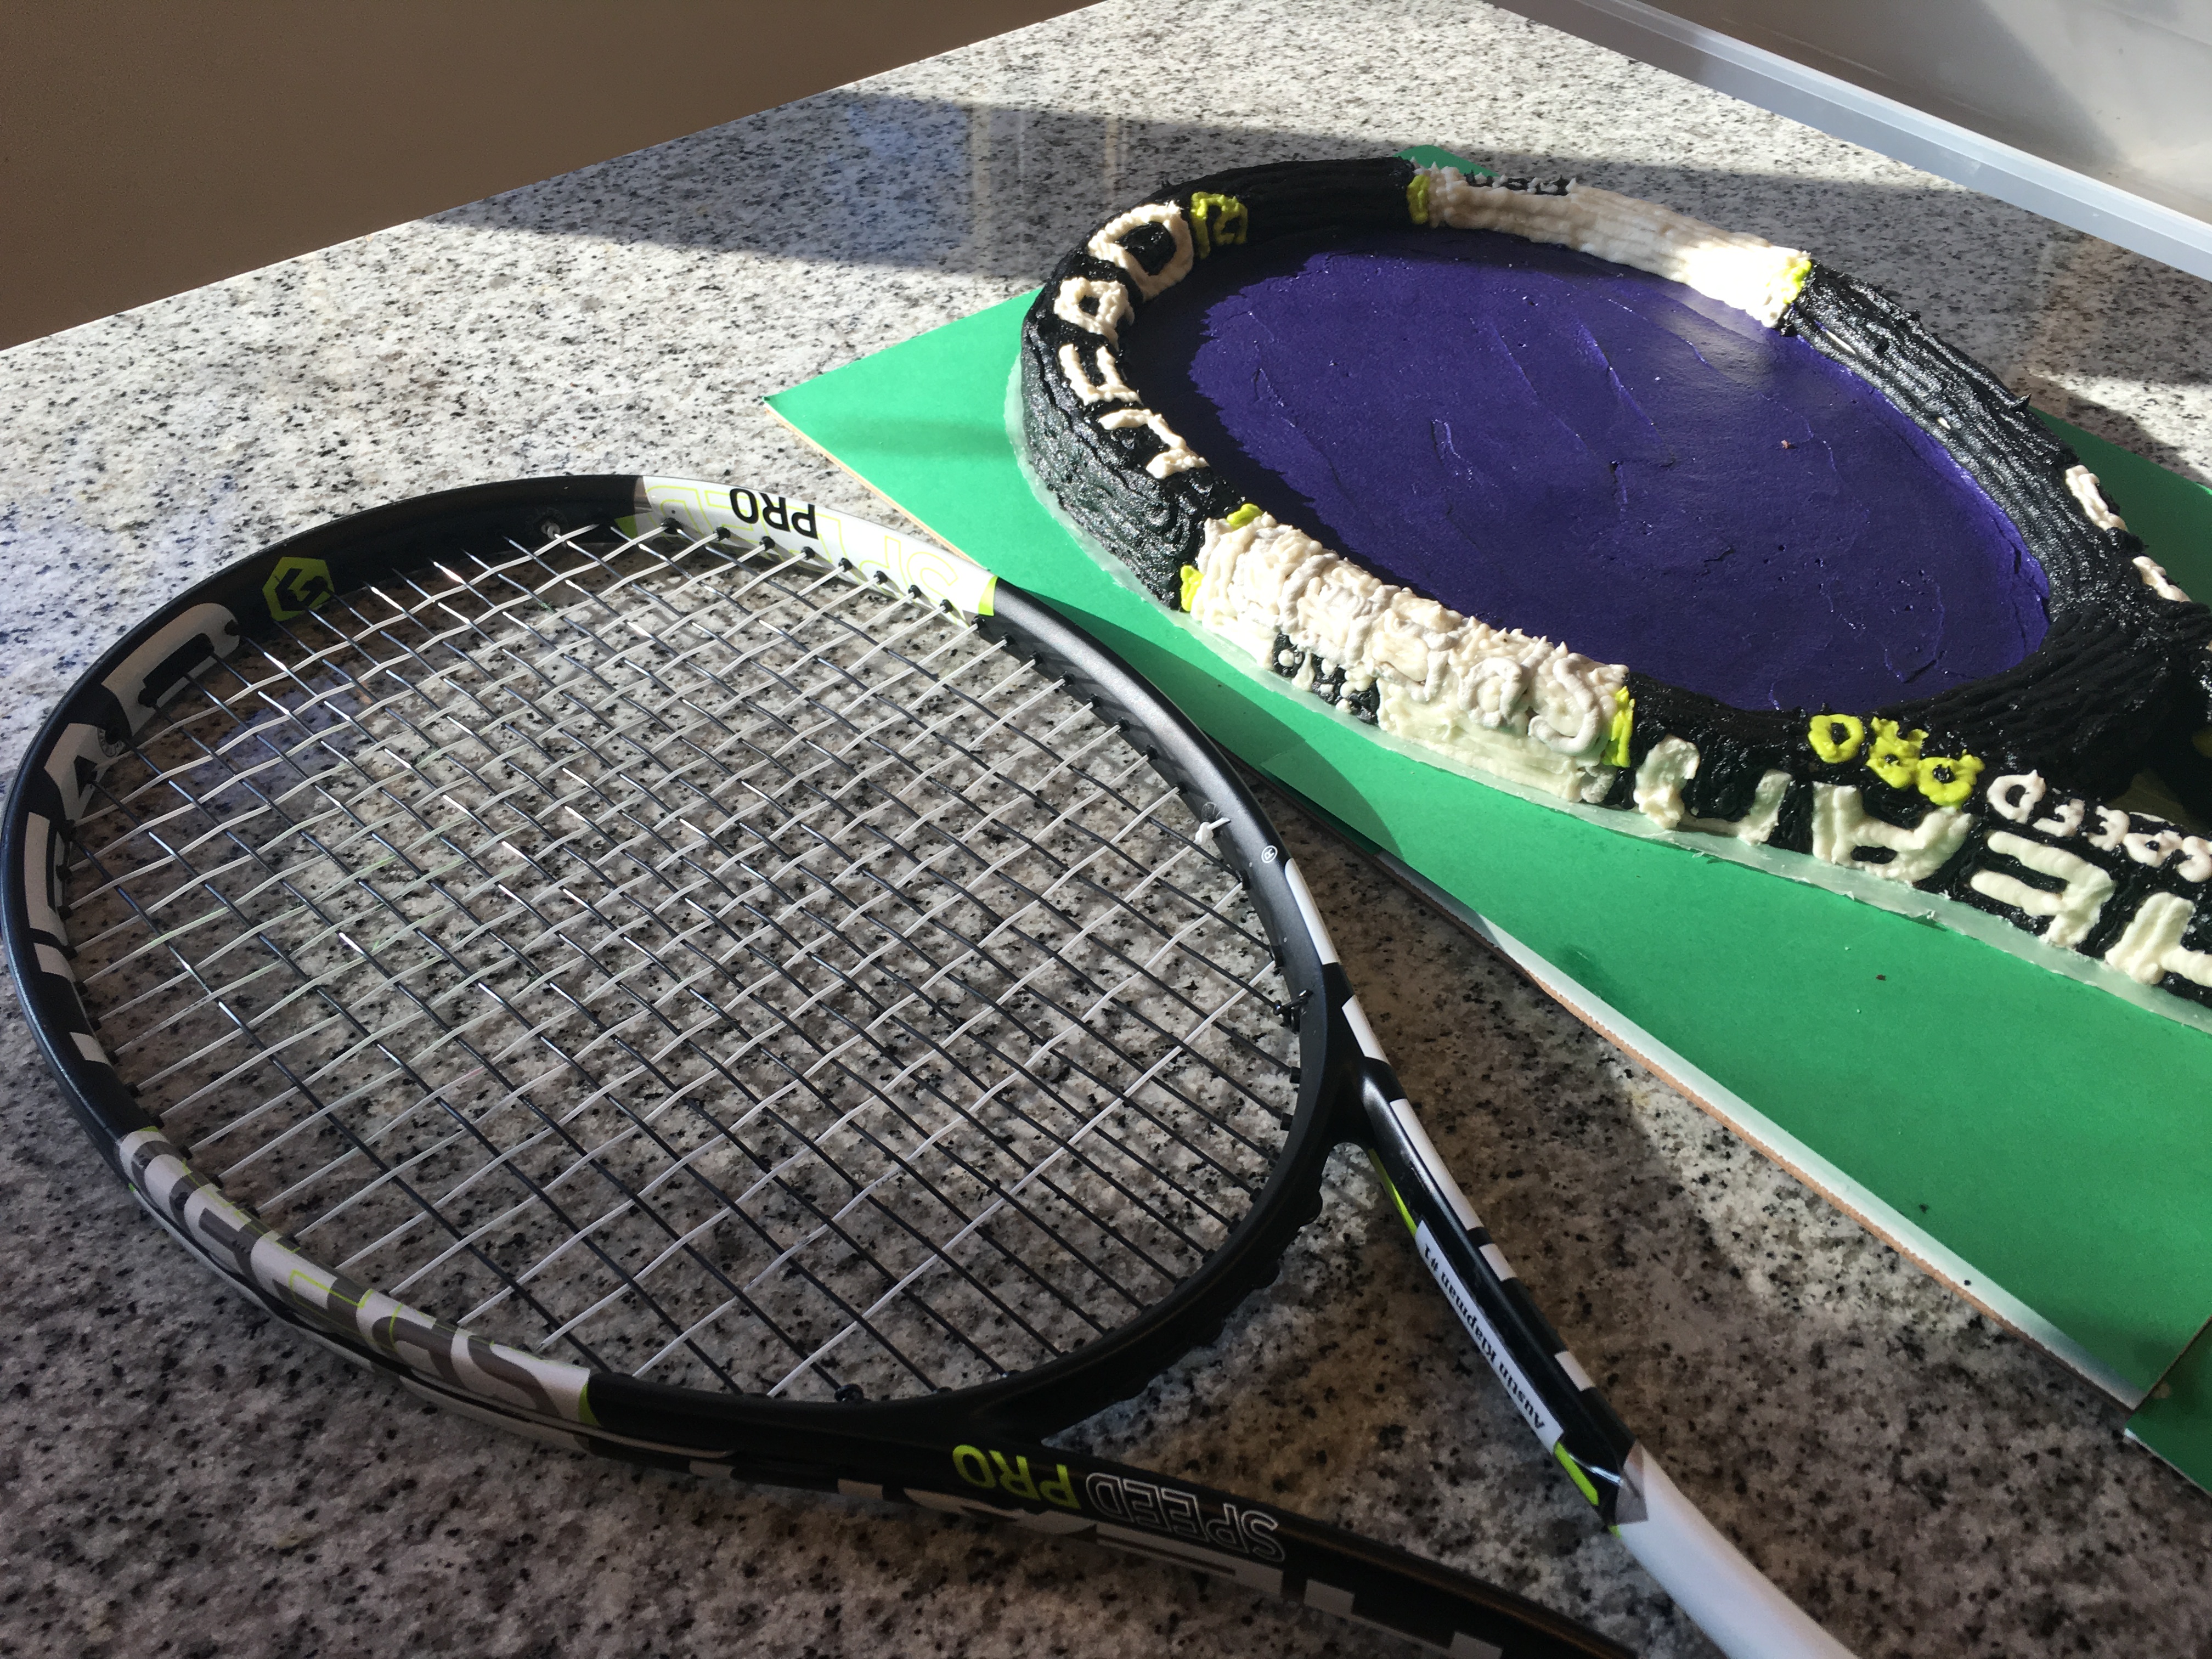
I wasn’t done for the day, yet. Dyed frosting needs to sit overnight. I first whipped up a batch of vanilla white frosting. I took about a cup of it and dyed it bright yellow-green. The second batch of frosting, I dyed “tour purple” (which looks like a deep purple or indigo). This took a lot of purple dye and quite a bit of blue to attain the perfect shade.
Why purple? The club where my kids practice painted the courts “tour purple” this year. It allows players to see the ball more clearly because the yellow ball is in direct contrast to the purple. Here’s a pic of the actual racquet on the actual court.

To end the evening, I whipped up a batch of chocolate frosting and dyed it black.
EXHAUSTED – that’s what I felt like at this point in the project. I called it a night.
I woke up the next day refreshed and ready to pipe some frosting. I frosted the racquet face first so that it would have time to dry before I piped the strings. Then I went to town on the racquet frame. I started with all the lettering and details and then filled in with the color. I wanted all the frosting to be a single surface (smooth like a racquet).
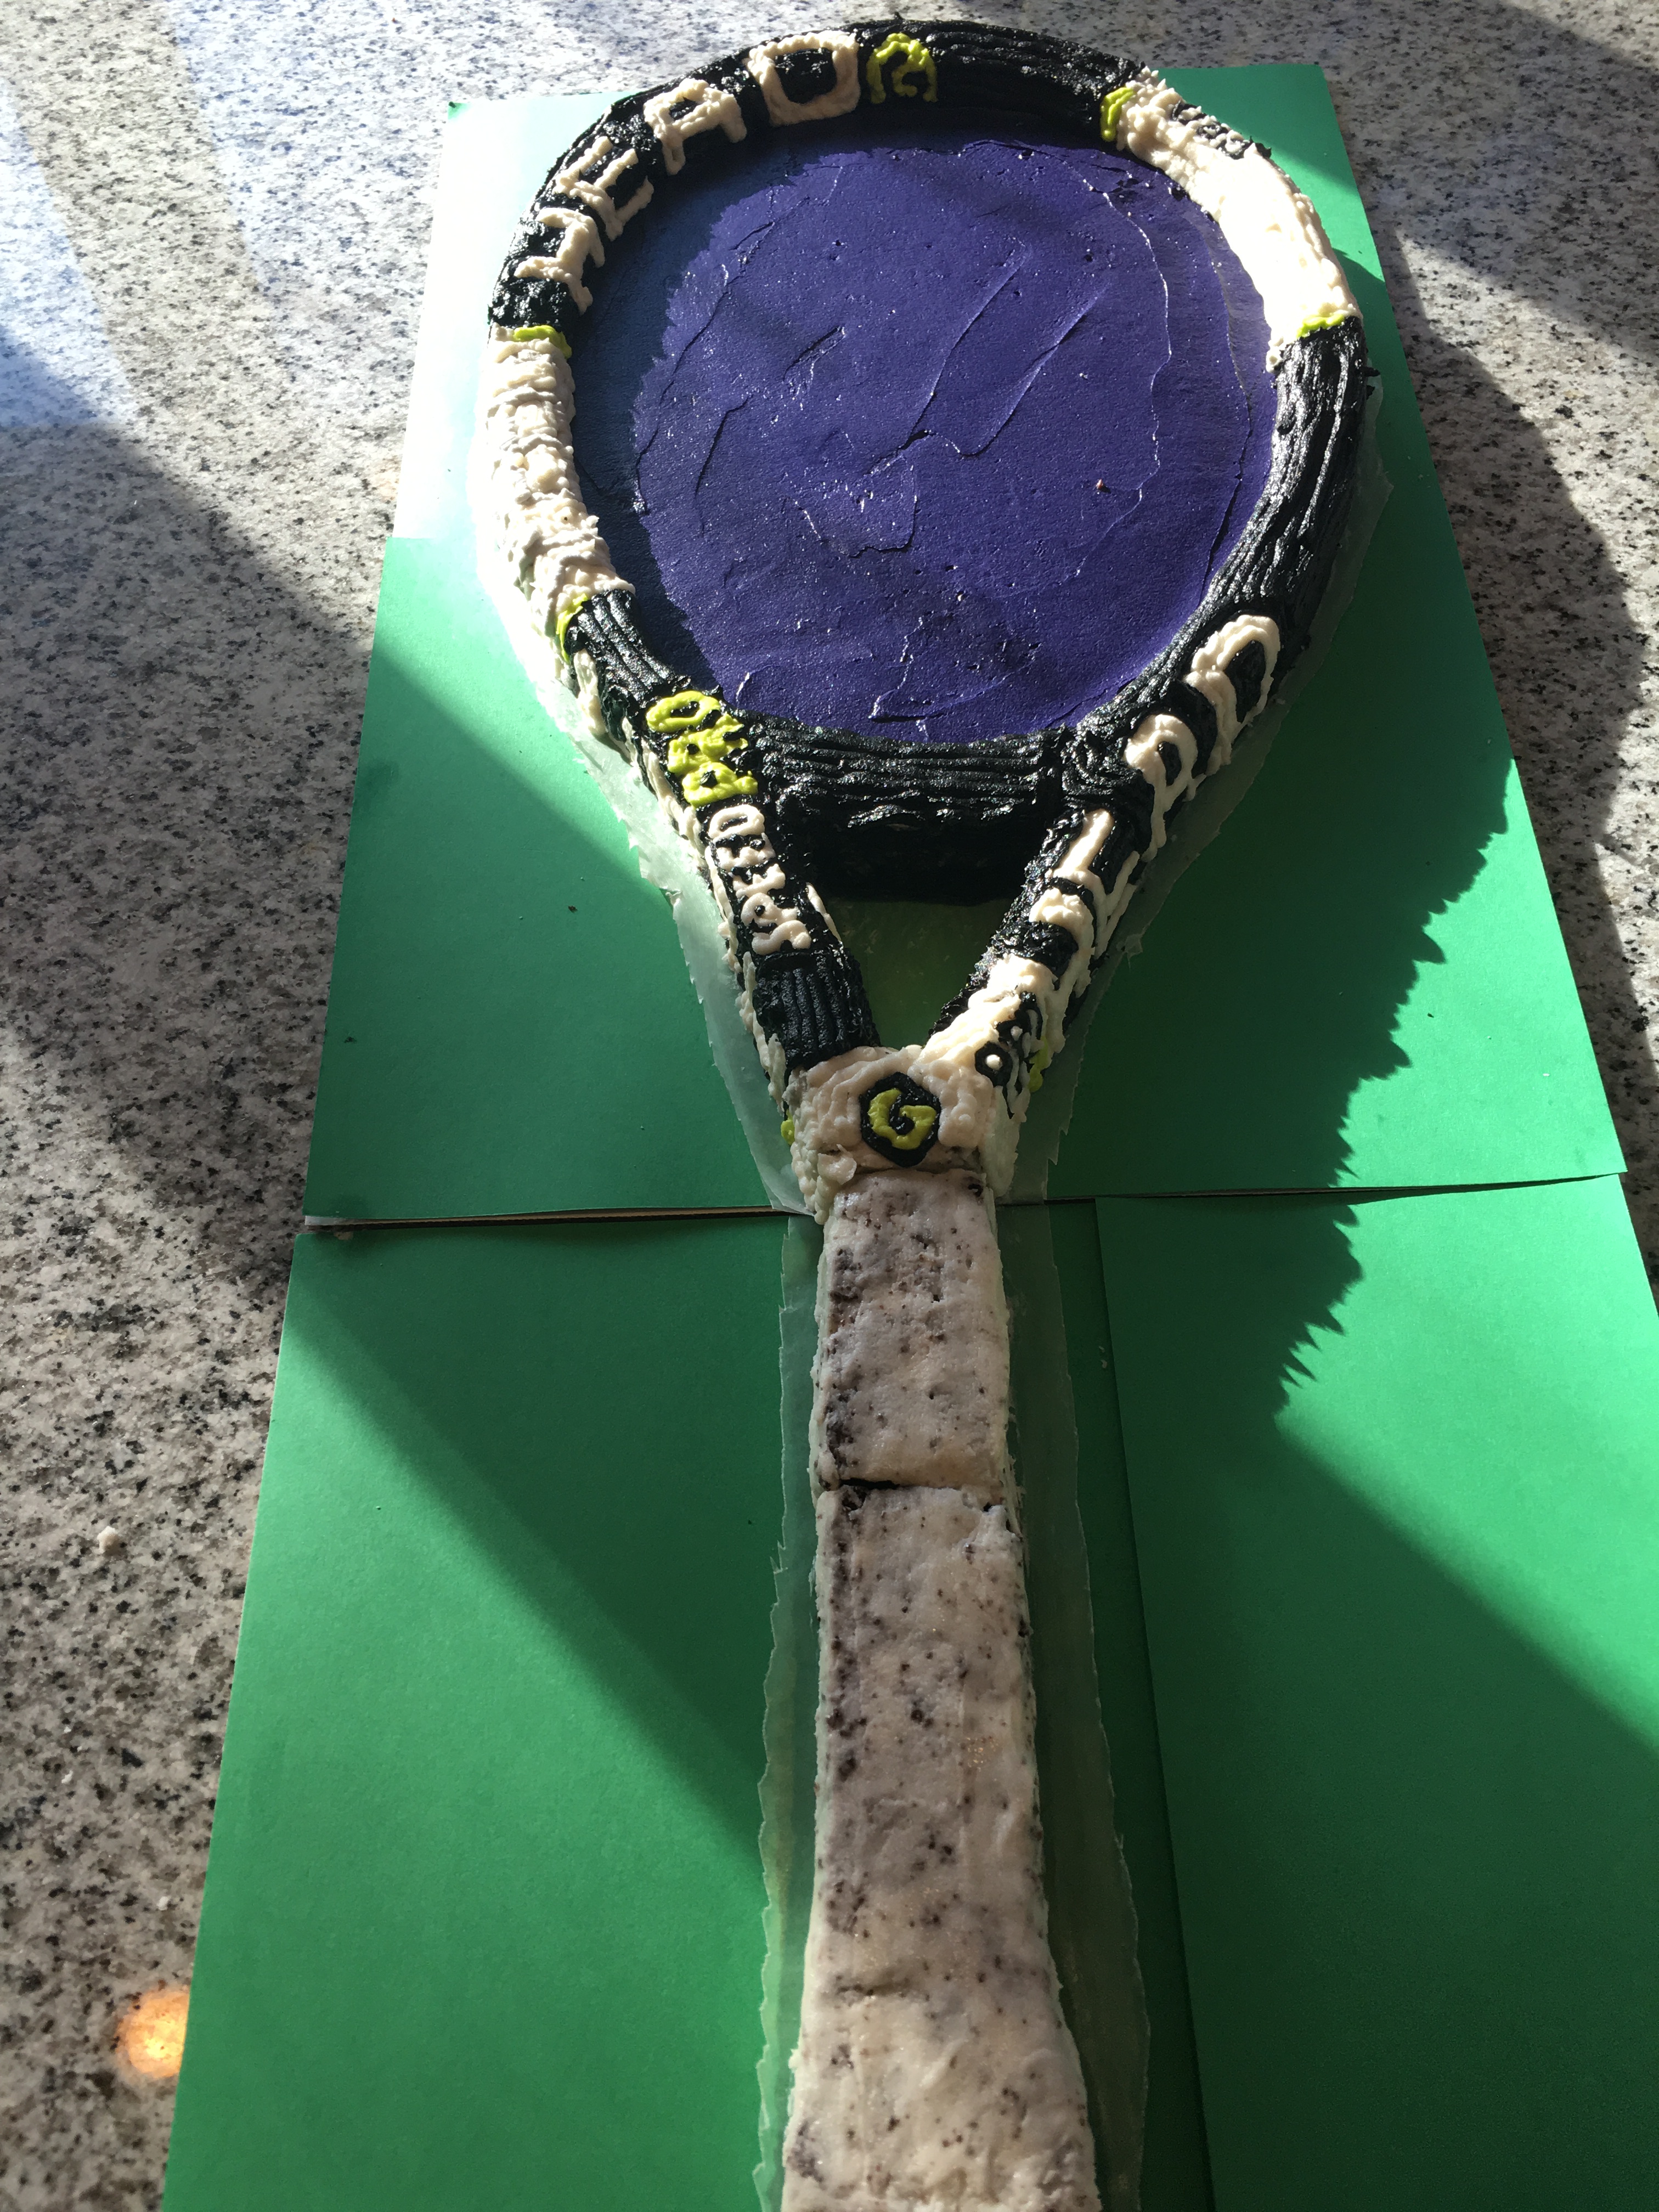
Next, I piped the racquet handle to look like it was wrapped in a grip.

I even piped the end of the racquet to replicate the Head logo.
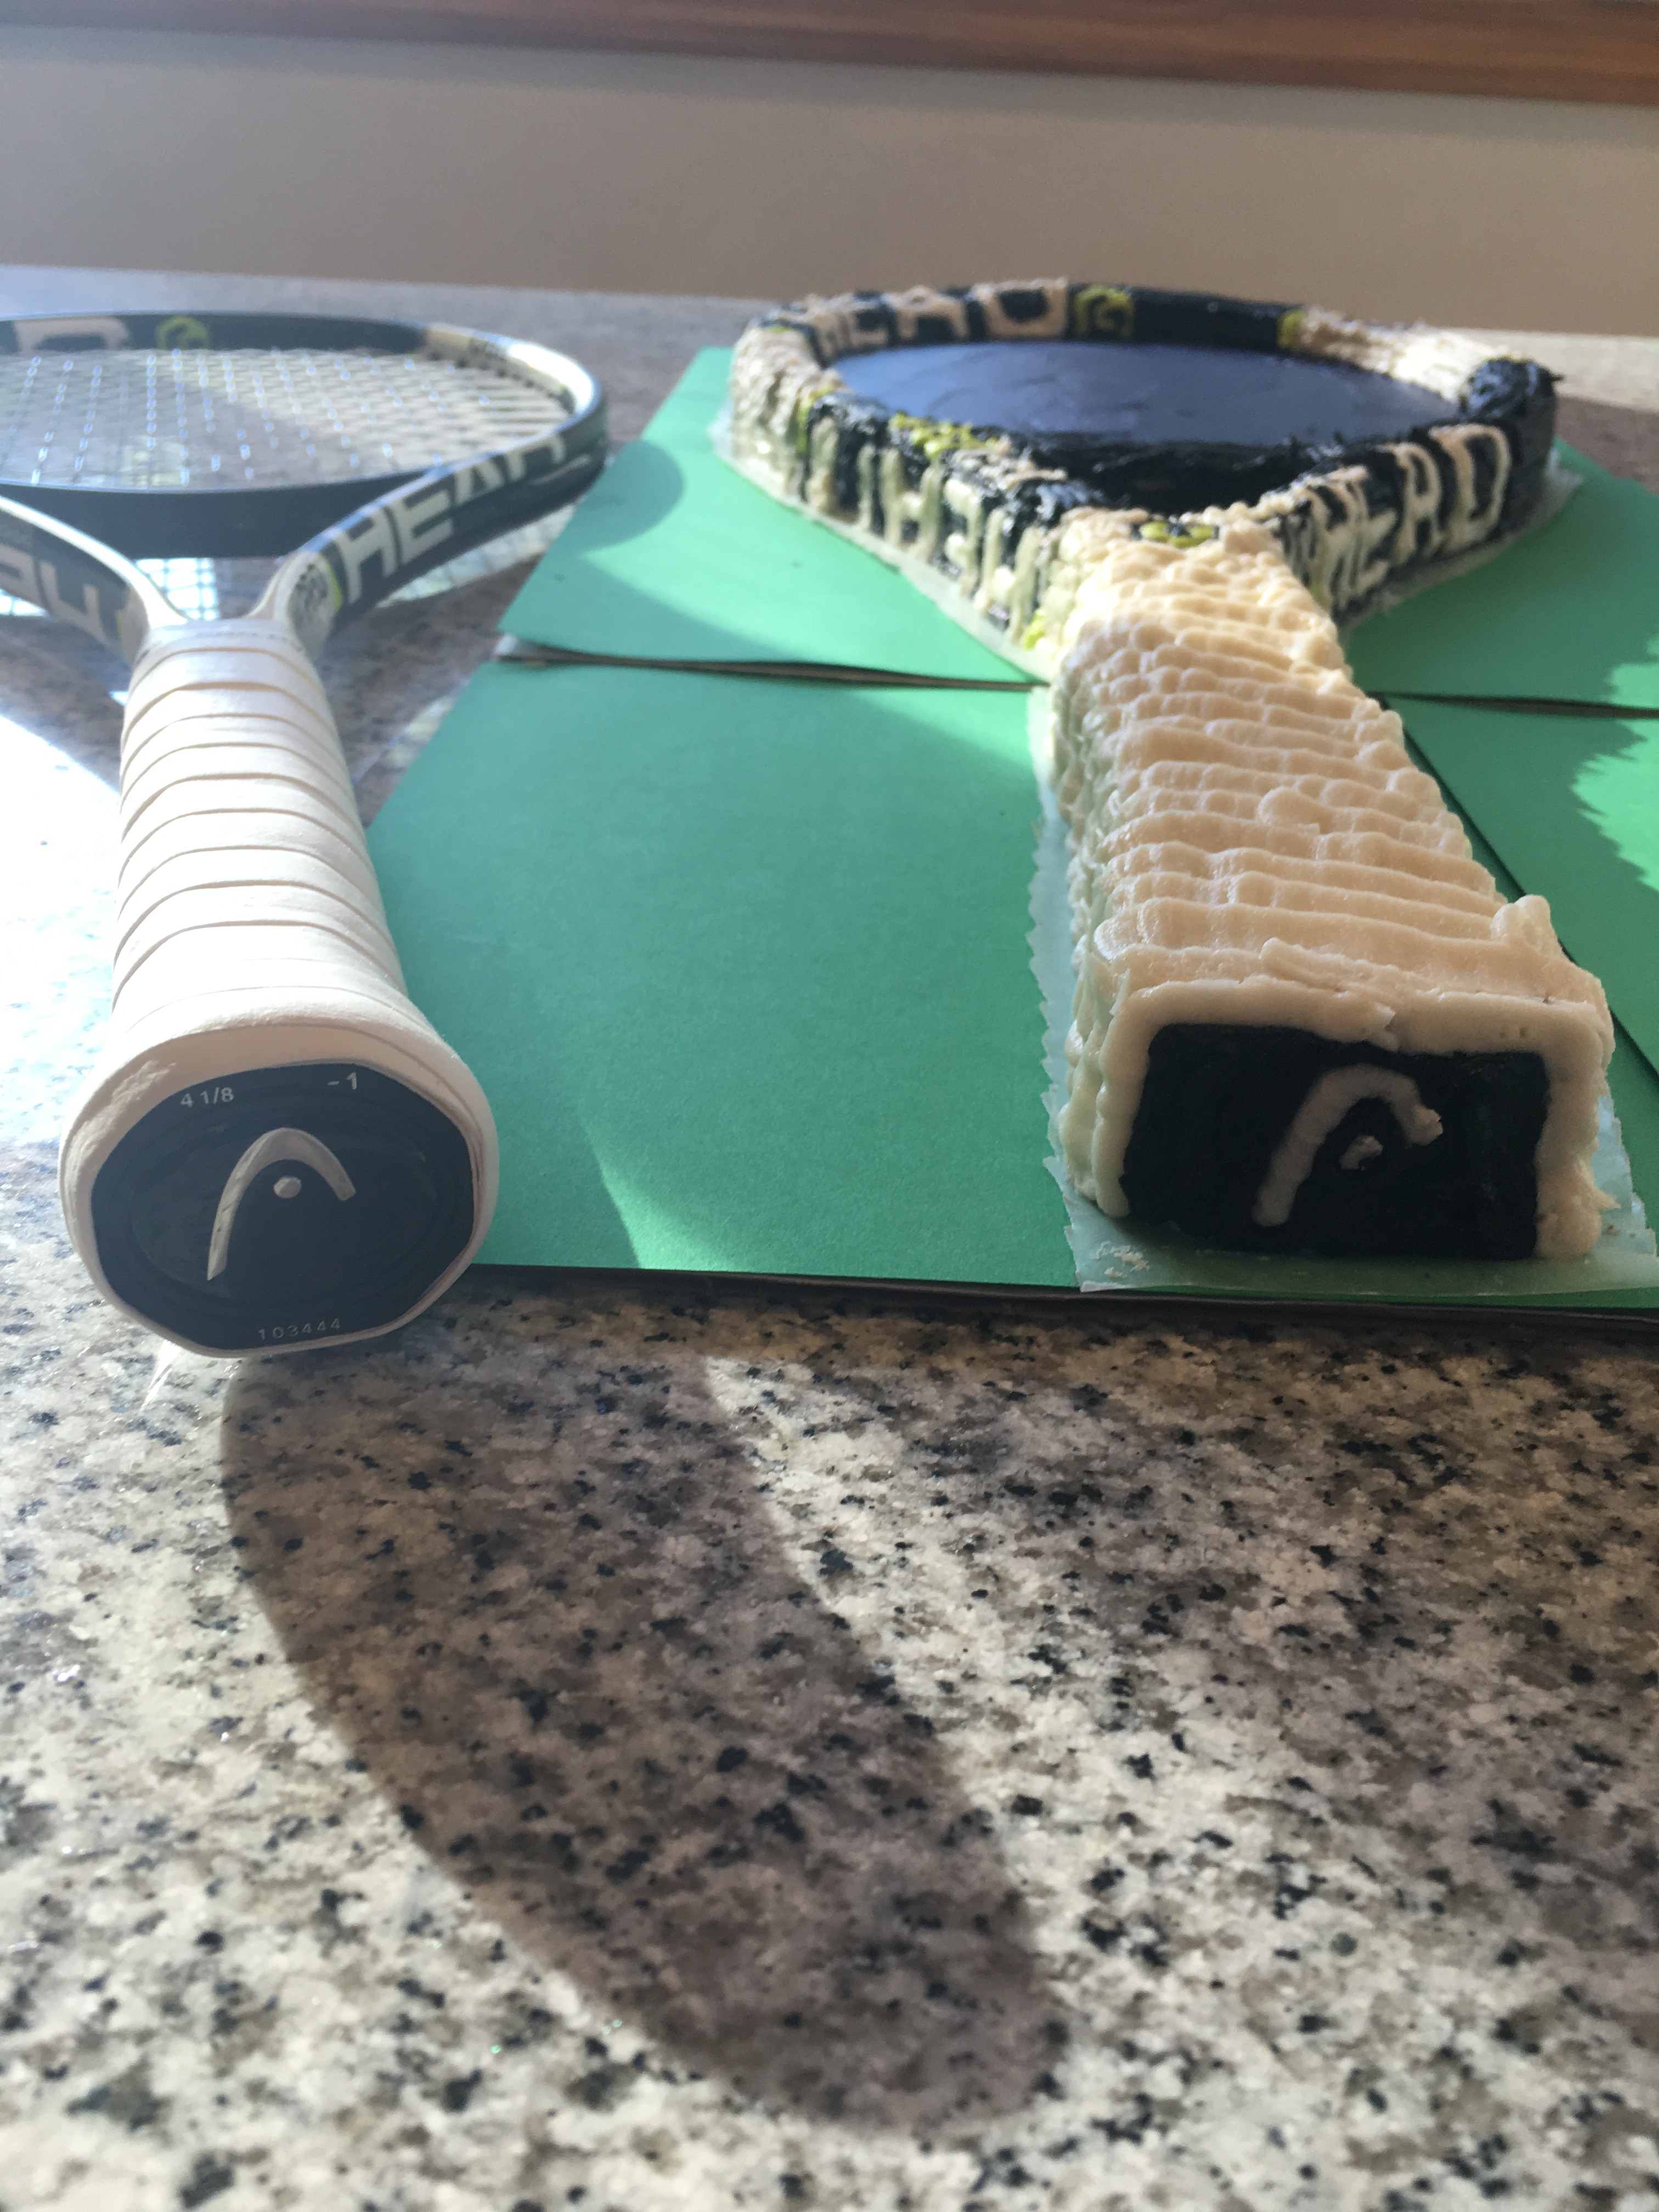
Lastly, I needed to pipe the strings. The problem? Strings on a racquet are woven. A fact I know all too well because I string my kids’ racquets. How did I do this with frosting? I piped every other main (black) string first. Then I piped every other cross string (white). I finished piping the black mains. Then I finished with the white crosses. Thus, most of the strings actually appear to be woven. I could have used a basket weave technique, but the breaks in the piping would have detracted from the overall appearance.

Here are a few more close up photos of the cake:


Incredible cake design, one very devoted mom 🎾
LikeLiked by 1 person